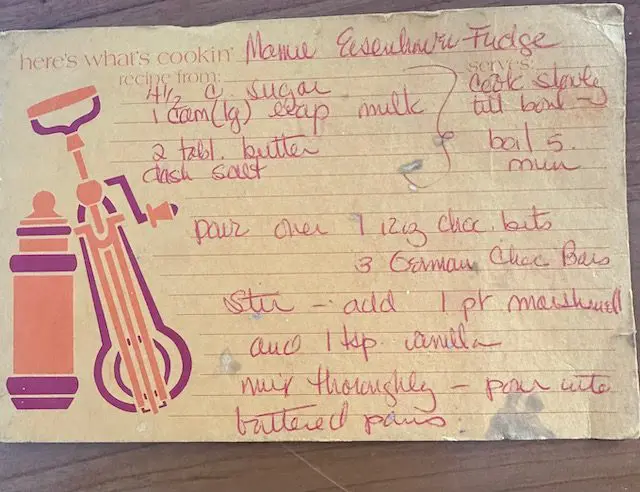
Do you have a folder full of recipes clipped from newspapers? Are your cookbooks bulging with handwritten recipes, perhaps dating back a generation or two? Are you in the process of giving your cookbooks to Goodwill because you just google recipes now?

Don’t lose those old, favorite recipes!
It is relatively easy to digitize your favorite hand-written recipes these days. In Part 1 of this series, we explained how to use the Camera and Photos apps to digitize old recipes. Today, we will demonstrate how you can use the Notes app to scan and organize these recipes.
 The neat thing about the Notes app is that when you add a new note on one Apple device, it will show up on all of your Apple devices. For example, I often make a grocery list on my iPad while watching TV, and then when I go to the grocery store, I pull up the list on my iPhone.
To digitize recipes, I scan using my Notes app on my iPhone, and then I organize them into folders on my Mac. You can organize your notes in the Notes app on any Apple device; I just find it easier to do on my computer because the screen is larger and easier to read.
Let’s get started…
First, Open a new note in the Notes app. Tap on the Camera icon to see your choices. Tap Scan Document.

Your Camera app will open. Notice in the upper right hand corner of the screen, it says Auto. You want to tap on Auto so it changes to Manual. If you do not turn off Auto, a new scan will occur every couple of seconds!


The choice of auto or manual is in a different place on an iPad.

Once you are on Manual, position your device over the recipe you want to scan and tap the shutter. You will see directions to adjust the corners to encompass the part of the document you want to save. Use the little circles at the corners to adjust the frame.

Next, tap Keep Scan in the bottom right hand corner pf your screen. Then tap Save.
The scan will go into a new note in your Notes app where you can type in additional information. This image is from an iPad, but it’s the same, only smaller on an iPhone.
When you open Notes on your device, you will see your scanned recipe.
Creating folders in the Notes app allows you to organize your notes/scanned documents. Below are directions for a Mac, an iPhone, and an iPad. Remember, you only have to create the folders on one Apple device. If you have multiple Apple devices, the folders will automatically appear in the Notes app on each device. Pretty cool feature!
Use your Mac. Here’s a short video that explains the process.
On your iPhone:
To add a new folder, tap on folder icon with a + sign. You will find it at the bottom of the Folders screen in your Notes app.

You will be prompted to name the new folder.
Then tap on All iCloud or Notes to find the specific note you wish to put into a folder.

Next do a long press on the specific note you wish to move until you see a menu.

Tap on Move and then choose the folder you wish to place the note in.

On your iPad:
To add an additional folder, tap on the folder icon with the + sign at the bottom of the Folder column.

Then you need to name the new folder.

Next select the note you wish to move. The list of your notes is the middle column. I’m going to be working with the note labeled Learn to Navigate Safari.

To move this note, merely swipe to the left on it. Three colorful icons appear. Tap the middle one that is a folder on blue background.

Once the folder icon has been tapped, a list of folders appears. Tap on the one you wish to move the note to. Notice, you can add a new folder by tapping on the folder icon with the + at the top of the list..

Once you have mastered creating folders in the Notes app on your favorite Apple device, you will be able to organize all of your digitized recipes in this app. You will be able to easily locate Grandma’s pot roast recipe because it is in an appropriately named folder. Using folders in the Notes app to organize articles, ideas, and web links by category will make your life a bit easier and efficient. And…remember, once you set up the Notes app folders on one Apple device, they will automatically appear on your other Apple devices.
Notifications